
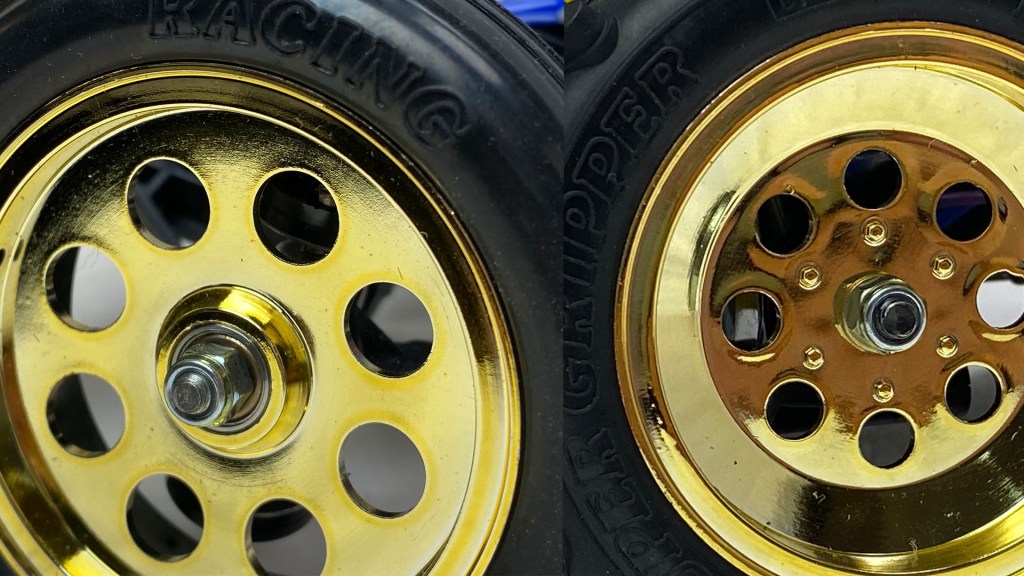
Few Tamiya buggies get more attention for their shiny gold rims than the Fox. Cha-Ching! This shelf queen build was a 2013 purchase which I bought in two lots at the time. The first lot had two used Foxes that also came with a load of NOS parts. The second lot was a good condition complete buggy. Looking back, I am not really sure why I bought two lots, but I am certainly not complaining now. The star of the show from the extra parts was definitely the brand new set of highly sought after gold rims and brand new set of front and rear tires. That was a huge score!
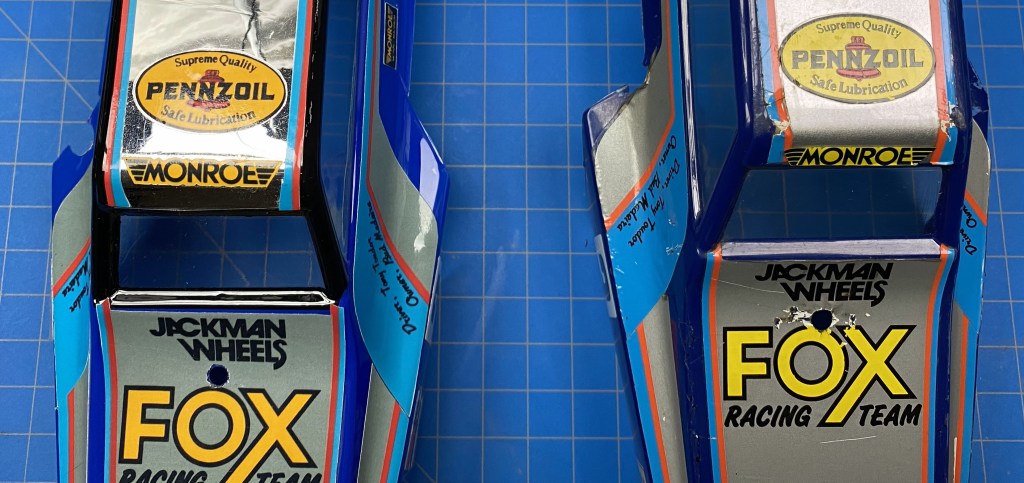
I didn’t know it at the time, but it turns out the decals were era reproductions. You can tell this since the coloring is off slightly from the originals. It was nice having the other Fox shells as examples of real decals to compare them against. I am not sure if the body shell was also a reproduction. There were no obvious indicators on the shell but then again there are not any markings on the original to help tell the difference.
I tore down all three Foxes when I received them. Back then I wasn’t documenting my builds so I don’t have any progress to share from those efforts. I ended up tearing them apart and splitting the parts into three buckets. The best parts were reserved for my queen build.

The Fox is a fun yet not so complicated build, though setting up the servos were the most time consuming steps. I performed my traditional cleaning before I started the rebuild in order to guarantee the best possible outcome. The radio box is enclosed (minus a cramped wire exit hole) but also difficult to get into when trying to access the radio gear. You need to separate the gearbox from the chassis in order to access key components which makes it difficult to maintain at the track.
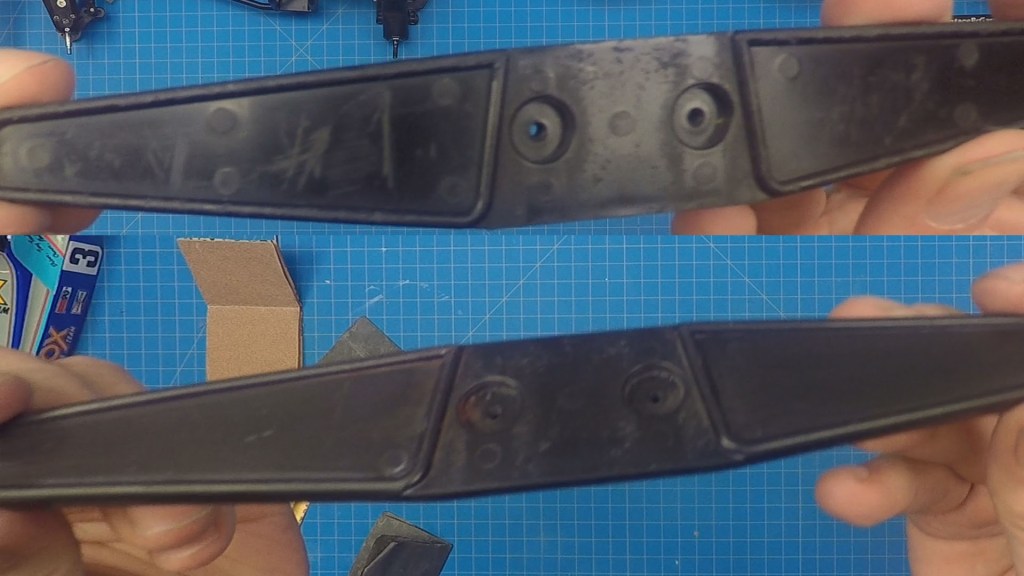
When I started the build I used a NOS front bumper since the original had some wear. Near the end of the build I decided to refurbish the original instead since it still had the decals installed. The original had some deep scratches that needed to be removed. I started by taping off the decals to protect them and then hit it with 100, 150, 220, 320, 1000, 1500 grit sand paper. Lastly a quick buff on the buffing wheel to finish it off.
The body shell was already painted and in good condition but the driver was still on the parts tree and needed a paint job. This was my highlight of the restore. Painting is not my favorite activity, mainly because I am not that good at it, but it’s nice getting the practice. I decided to stick to box art on this one which meant it was a white base, which I sprayed.
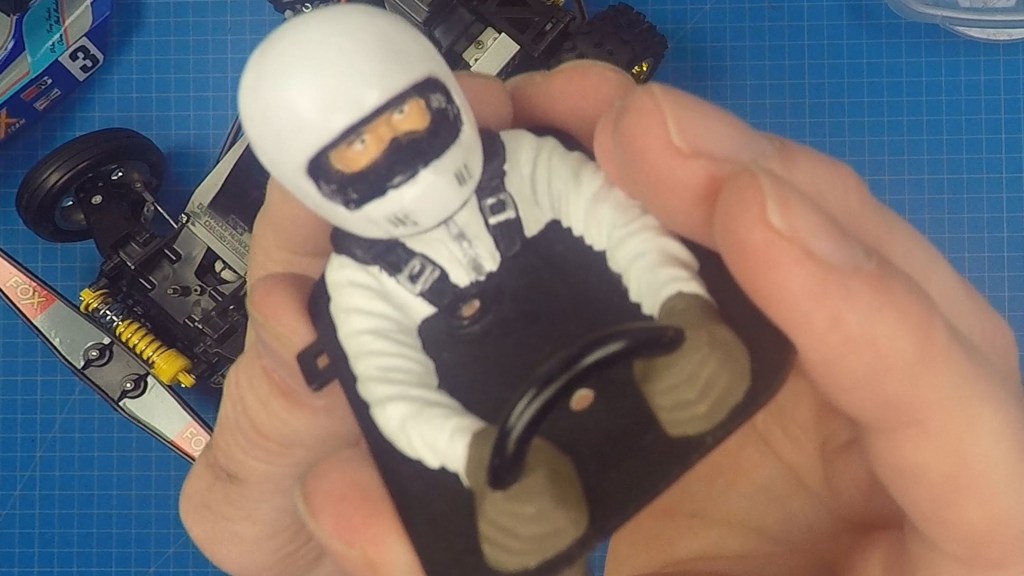
The one major screwup I had on this build was on the driver helmet. After I had finished the helmet gluing, sanding, and painting I went to attach the head to the body and realized I had forgotten to insert the adaptor piece that goes inside the helmet. That meant there was nothing for the screw to bite into when attaching the head to the torso. This triggered a string of profanities as you could imagine. I ended up having to split the helmet to reinsert it and do my best to touchup the new seam that was introduced.
My plan is to build the second Fox as a runner and the third as a roller, both of which will probably end up on eBay. But until then I am on to new projects. Here are the links to the build videos.

