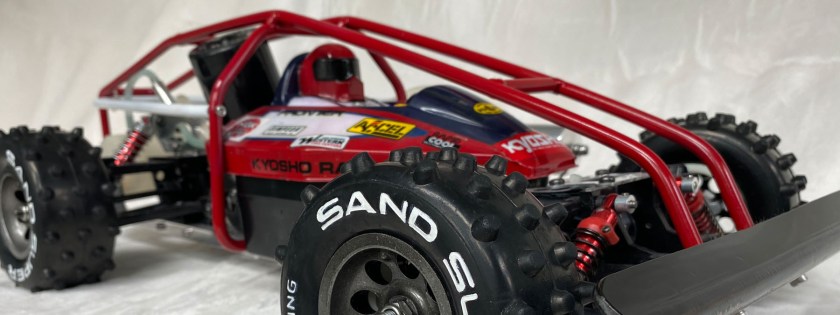
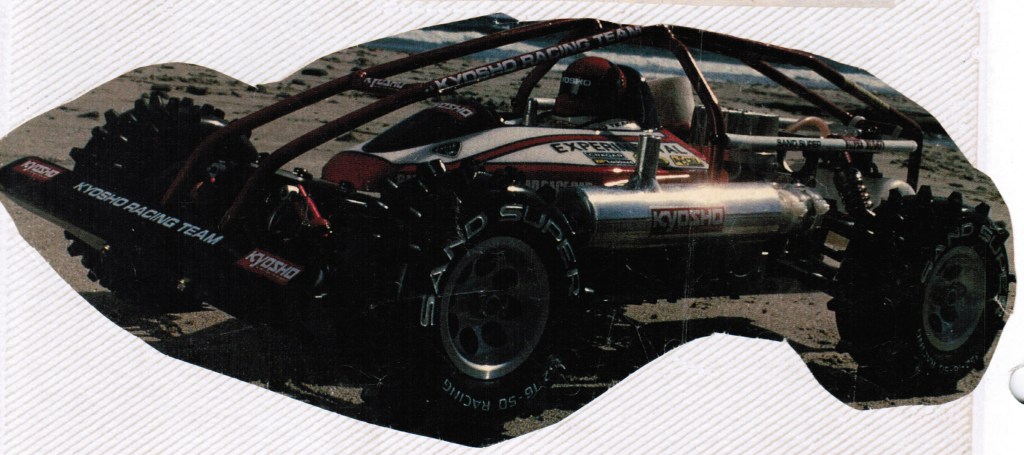
The R/C that got away, that’s what I call the Kyosho Vanning. It took 35 years but I was finally able to own one of the R/C’s that I have always wanted. After the Hornet got me into the hobby in middle school I spent hours and hours working in order to save up money to buy the Kyosho Vanning. What wasn’t to like? Gleaming chrome, four wheel drive, nitro glow engine, and a wicked paint job. The Vanning had it all and I had the trade magazine pictures plastered all over my childhood school binders.
So what happened? After having the money to finally buy one, my parents weren’t all that keen on me owning a gas powered engine. In the end I bought the Tamiya Bruiser, nothing to sneeze at I know, but at the time it was second fiddle. Surprisingly it has taken until now for me to finally grab one, in fact I actually grabbed three.
When I chose the Vanning as my next restore project I wanted to do more than just build it and put it on a shelf. My plan then became to source more than one and build the first as a shelf queen and the second as a basher. I mean, the dream was always to run the Vanning full throttle. Also knowing I would probably need to source some new parts I ended up with three to make sure i could make them complete.
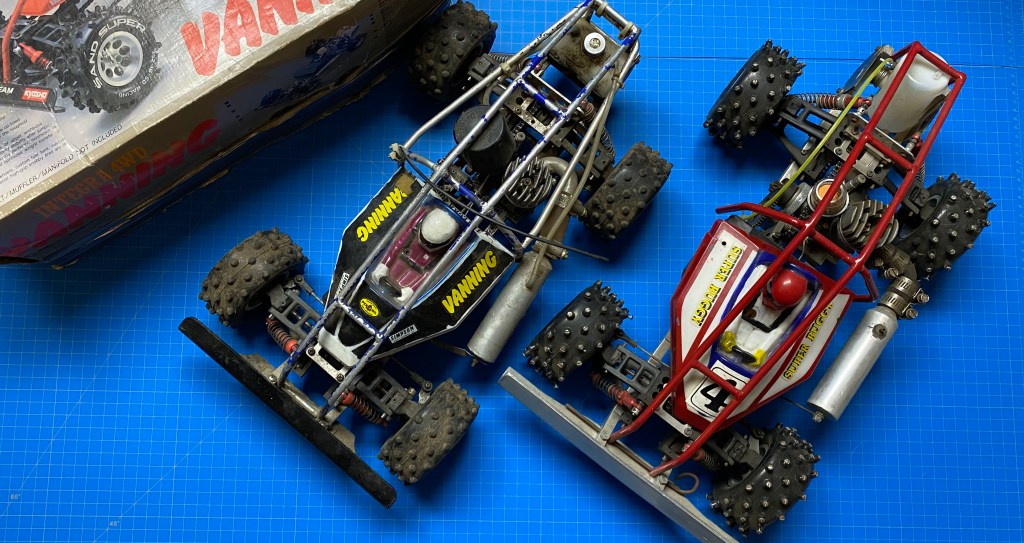
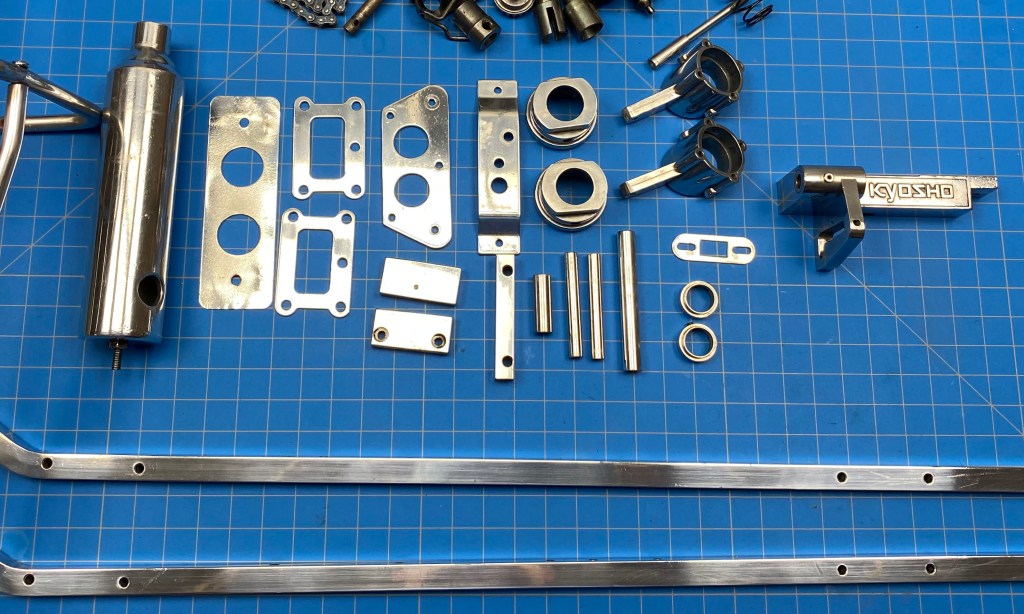
This project took a very long time to complete, I worked on it for over 6 months. After sourcing the three buggies, I spent considerable time tearing it apart. I sourced loads of new old stock (NOS) parts along the way knowing that I would probably need them. I won 2 large Kyosho NOS auctions, as well as some more targeted purchases. As usual, I am probably not making my money back if I ever decide to sell them.
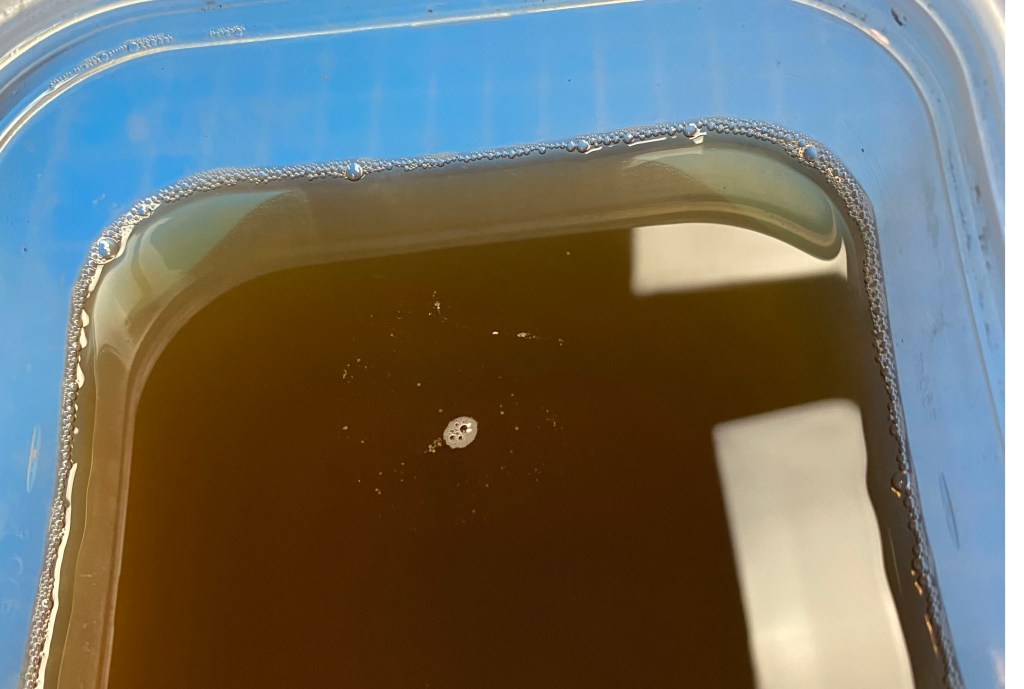
This build was definitely unique for many reasons. I tried a number of things for the first time. For starters, it was the first time I used a de-greaser soak as a way to prepare the parts. I must say that the Krud Kutter I used worked amazing. Just drop it in and provide some agitation and out comes clean and beautiful parts. Yes the picture below started as clear liquid.
I also worked with the buffing wheel on the metal and plastic parts during this project. I spent considerable time researching buffing wheels and buffing compounds. In the end the metal parts came out amazing. I was never 100% satisfied with the plastic parts, but they weren’t bad.
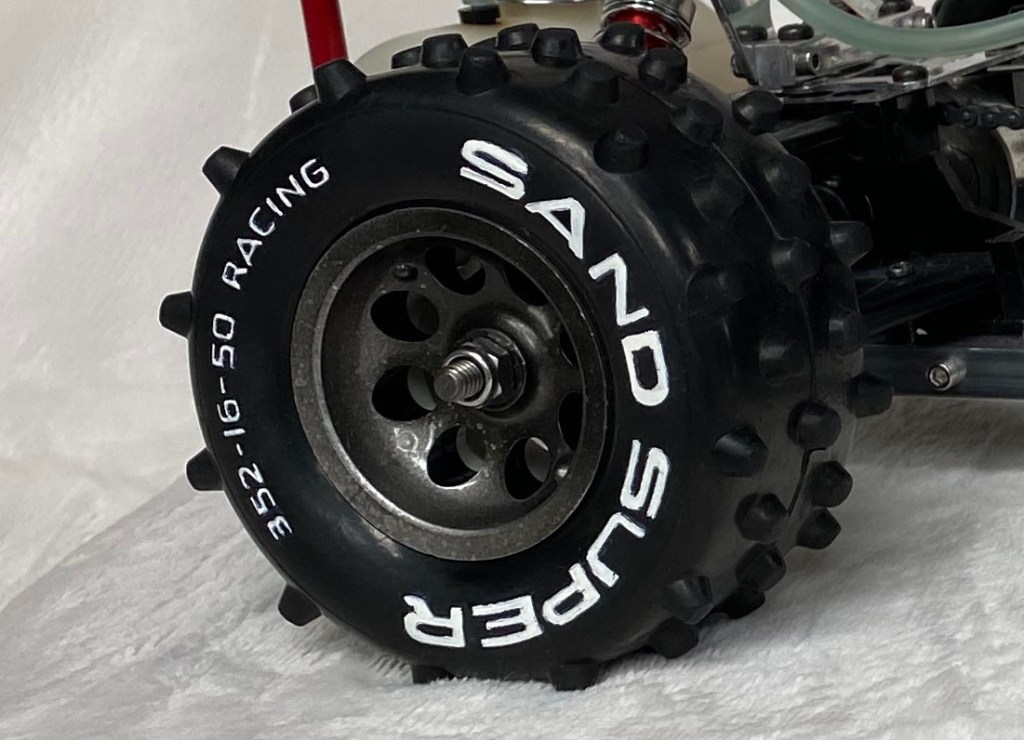
When I got started with the painting I was searching for a way to get the chrome finish on the tire rims just like the box art. I decided to try a black inlay with a chrome finish. I am not the most experienced painter so the effort was ambitious. In the end it took lots of research and some trial and error. I ended up spraying a black base and then filling in the inlay with Blu-Tack to prevent chrome over spray. I was actually impressed by the final results.

The last thing that was also a first for me was trying to replicate the box art white lettering on the tires. I tried a number of techniques, more to figure out how to erase my mistakes than how to do it flawlessly since I know I don’t have the steadiest hand. I ended up doing the lettering in Sharpie white paint pens in extra fine. Then I used an extra fine regular black Sharpie to “erase” the mess ups. The trick was to coat the tires with Armour All when you were done and all the cover-ups disappeared.
All things considered it was a fun and successful restore. I can’t wait until I get around to building my basher so I can take it out for a spin. I could make a number of smaller “how-to” videos on some of the things I did here. I have added them all to my list of possible YouTube projects. Here is the full restore.


Very cool, especially the back story. Good luck with the restoration and look forward to seeing it.
LikeLiked by 1 person
ps the Krud Kutter obviously works well
LikeLiked by 1 person